I hope everyone is having a great summer. It’s going by way too quickly. In fact, if you’ve been in any Garden or Craft stores lately, you might think it’s the middle of October. It’s definitely still August and I am lovin’ the weather. I want to squeeze in this next post while everyone is still in summer mode. It’s a quick follow up to my last on Modern DIY Nautical Décor.. You’re not going to believe how easy this one is to make and for only a few dollars.

WHAT YOU’LL NEED:
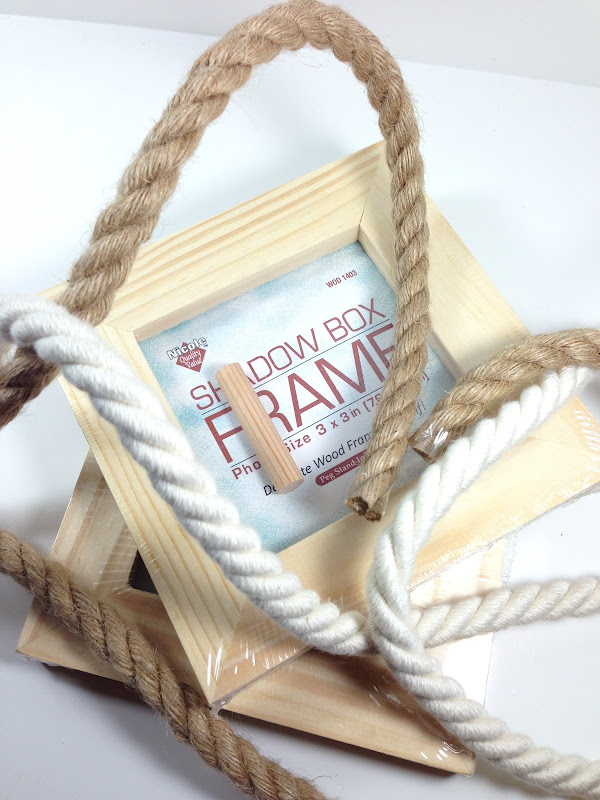
- Wood picture frame and lighthouse, $1 each Nicole crafts, AC Moore stores
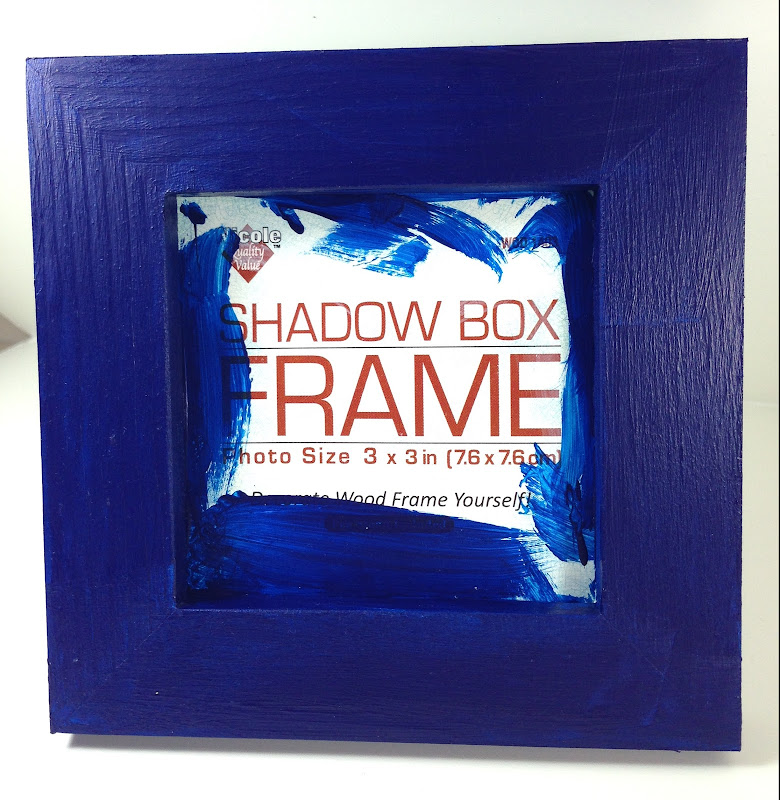
- Navy blue & white craft paint, $2 Martha Stewart Crafts, michaels.com
- 1/2” twisted cording, $3 white or jute, JoAnn.com
- Nautical stencils, $12 Martha Stewart Crafts, marthastewart.com

INSTRUCTIONS:
One of the things I love about MS Crafts paint is that you often only need one coat. The satin and gloss paints have great adhesion and are pigment rich. If you choose you can apply a white base coat. When you sand the wood to distress it, the white will add an extra dimension. Since the natural wood color is so light already, it’s not really necessary.

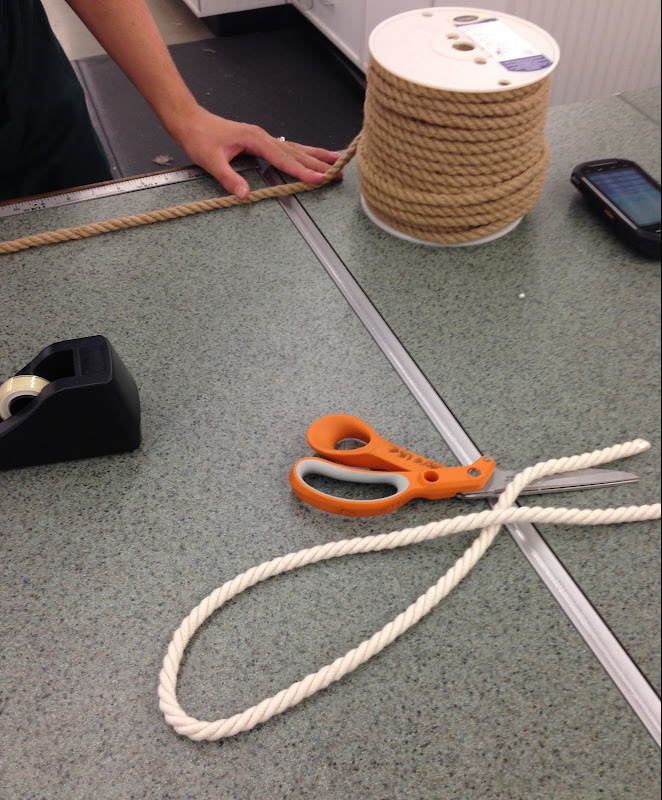
I found that the best store to buy jute or twisted cording is JoAnn fabric and craft store. I tried ACMoore, Michaels, Home Depot and Lowes but no luck. I happened to find it in the last place I looked(isn’t that always the way). JoAnn actually has a nice selection of cording and it’s reasonably priced. I believe the white cord I used in this project is 1/2 inch cotton.

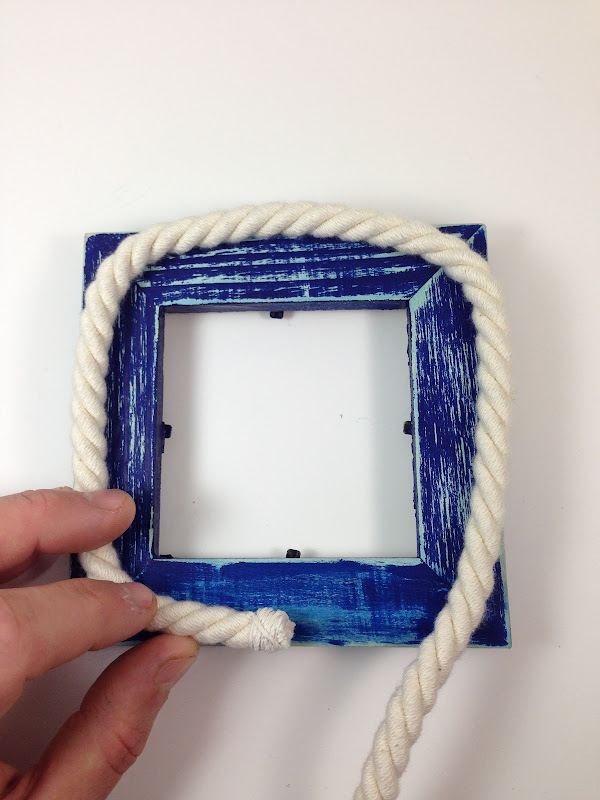
I sanded this frame with a wet sanding block. I did this to minimize dust. To my surprise the wetness actually ‘activated’ the blue paint and slightly tinted the white paint underneath. If you don’t want that effect and the weather permits just do a dry sanding outdoors. After lightly distressing the frame by sanding I attached the cord with a hot glue gun. So easy!

Next I simply hot glued the frame to the lighthouse and...
done!
You can’t get much easier than that
and, the total project cost under $5.
Thanks for stopping by and please be sure to follow or subscribe
for more DIY projects .


Good readding this post
ReplyDelete