

It’s that time of year when wedding and graduation dates start filling up my calendar. There's nothing better than a mailbox filled with big envelopes decorated with fancy calligraphy or bold colorful high school photos turned postcard invites; I love love love them. It's a great time to connect family and friends and an even better excuse to get out and party.
One of the problems I always face for these special occasions is coming up with a unique and personal gift. I know everyone loves good ole' cash but that just feels so impersonal to me. Well, I've found a great way to solve my gift giving dilemma.
I've discovered a fast and easy way to take a favorite quote and turn it into a spectacular frameable foil print. I just love this idea. A homemade personalized gift is one of the best you can give. You can choose any quote or phrase that suits the occasion and frame it any way you'd like. It will definitely be something your recipient will love.
All you need to get started is a few simple supplies. Keep reading and I'll show you exactly what you'll need to create your own custom foil printable.

- Scotch® Thermal LaminatorTL901
- Foil
- Laser Printer or access to copy machine, Staples, FedEx, etc.
- Scotch® Brand Tape and Spray Adhesive
- Command™ Strips
- Frame
- Distress Stains and Inks (optional)
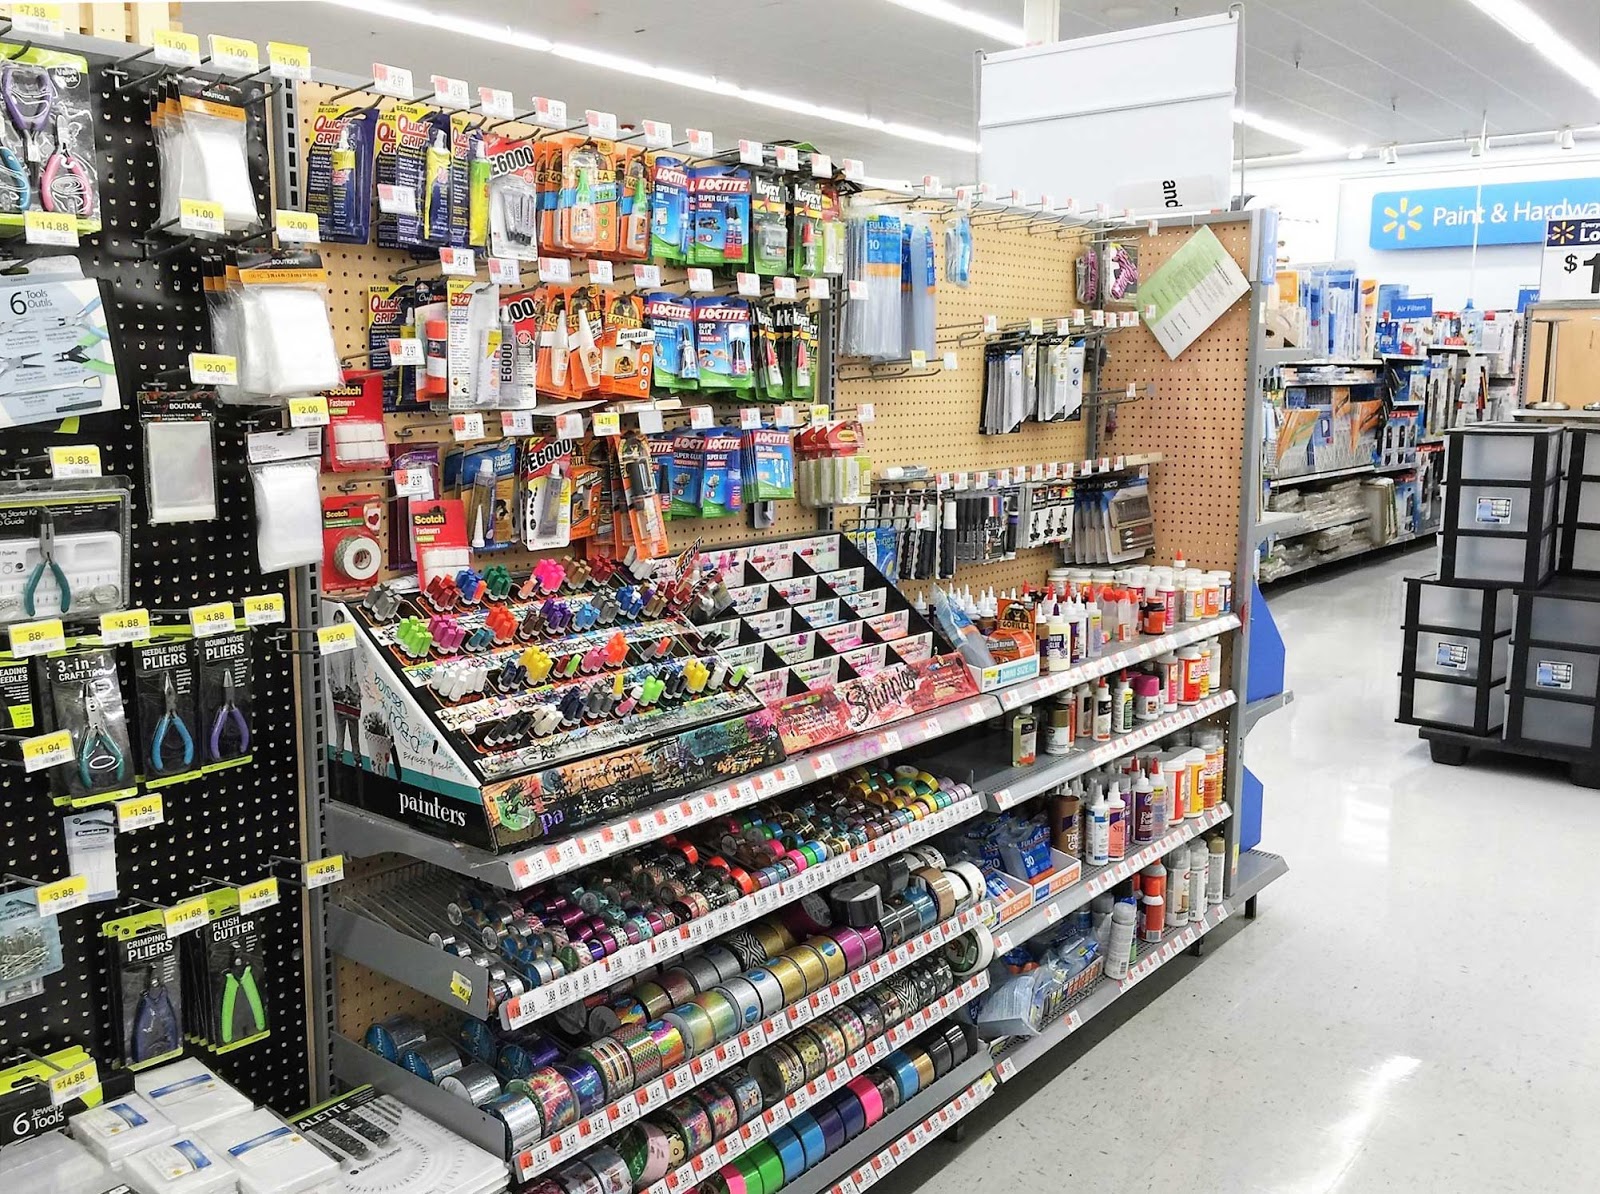
You can find the products needed by clicking the highlighted links. If you as impatient as I am, you can also find most of the items right at Walmart. You'll want to look for the craft aisle which can be found near the gift cards, party supplies, and sewing equipment. You'll want to grab the Scotch® Multi task clear tape, Command™ Strips, (optional) Scotch® Spray adhesive and utility knife. If they have the listed laminator available you'll want to purchase that also. Walmart usually has some of the best prices so you know you're always getting the best deal. Oh and make sure you don't forget your frame...

Begin by going to Canva.com to start your design. The site is super simple to use. You can easily log in using Facebook or Google. Canva is completely free and is very user-friendly.

On the opening screen you'll see a few options. For our printable, you want to click the custom dimension box on the top right of the screen.

In the dark gray box switch the dimension option to "inches." Next choose your size. I choose to enter 8 x 10 inches but you can choose the standard paper size of 8½ by 11 if you'd like; It might make it easier to visualize your final printed design.

All the way on the left you'll see various options. You want to choose "text." Next, click on "Add heading."

You now have a few different options for your text. There's a great font called "Brusher" that comes with the free version of Canva. With the paid version you'll have the additional option to add your own fonts. In figure 2 you'll see an option for size. I chose to use 120pt for my design. You can also grab the sides of the text box to make it larger and fit the entire body of your text. If you click the arrow in figure 3 you'll have access to a drop-down menu.

A great option that Canva offers is the ability to change the line spacing of your text. Click on "text spacing" and you'll see what I mean. By moving the lines of text closer together you'll be able to achieve a more professional look. You might also want to play around with other options such as "uppercase" or "centering."

So now that you have you're amazing quote all designed and ready to go you want to save it somewhere. I usually just use my "desktop" if I need a quick temporary place to save that I'll easily remember.

Now that you have your quote saved on your computer you'll want to print it out. If you already have a laser printer you're one step ahead of the game. Unlike inkjet printers which use dye and/or pigment ink, Laser printers use toner. The toner, which is essentially static charged plastic powder, is heat pressed into the paper. This foil transfer method uses the laminating machine to re-melt the toner and bond it to the foil sheets. If you don't have an inkjet printer you'll need to go and have a copy made. You have several different options. A standard photocopier will work fine, as it uses toner. You can also have copies made for only a few cents each at Staples, UPS or FedEx stores.
After you have your laser printed copies you're ready to begin the application of the foil!
Keep in mind that not all laminating machines work well for foil transfer. Some machines do not get hot enough or they roll paper through too quickly for the foil transfer to take place. Scotch® Thermal Laminator works well and the price is great compared to similar machines!(Make sure you use the model specified)
You want to adhere your foil Securely to your laser copy. A great all-purpose tape that is both photo safe and can stand up to the heat of the laminator is Scotch® Multipurpose tape. Every time I'm at Walmart I definitely stock up. If you've ever bought dollar store tape you can definitely appreciate real Scotch® tape. Before using it on your paper you might want to prep it by sticking it several times to a non-porous surface to reduce the adhesion slightly.
After running my copy through the laminator and admiring the gloriousness of it all... Believe me, when you see it in person it is really impressive.... I decided to give the foil print a light wash of Distress Stain and used a mister to add small amounts of water to slightly reduce the opacity.
When your finished and ready to gift wrap the frame, you might want to throw in a package of Command™ Strips. Your recipient will sooo love you for it. Command™ Strips are literally the best, most convenient way to hang anything! When you use Command™ Strips you won't need hammers, nails or hooks. These babies attach right to the frame and wall. Not only do they hold amazingly well but they're damage-free which means they can be easily removed.

There you have it.
Your own gold foiled custom quote.
What's more personal than that?!
I'd love to see what your design looks like.
Feel free to share your favorite quote
in the comment section below.
I'm literally always on the lookout for new and inspiring
quotes to pin or print.
Thanks for stopping by and
please be sure to follow and subscribe
for new and upcoming posts!

Feel free to right click and save the quote below to print out for yourself.


Such a gorgeous print! You make this seem so easy! This type of gift could be literally be given for any occasion. A graduation, a baby shower, wedding, milestone birthday....such a fabulous idea! #client
ReplyDeleteThanks so much! I've become obsessed with making printable quotes and the foil adds that extra little flair!
DeleteInstead, NASA releases a number of} 3D printable STL files to the general public} for academic functions. These embrace parts from NASA’s previous rockets, scanned touchdown websites as well as|in addition to} numerous other attention-grabbing and neat 3D printable models. It can be easy to shrug off Youmagine as another “Thingiverse” but actually Youmagine is a great resource in and of itself. Youmagine hosts a boatload of 3D printable STL initiatives Direct CNC starting from hobbyist to skilled grade.
ReplyDelete